APPS
Blog Manager
 Visit the Blog Manager by selecting it in the app menu or by visiting the Dashboard and selecting it there.
HOME PAGE
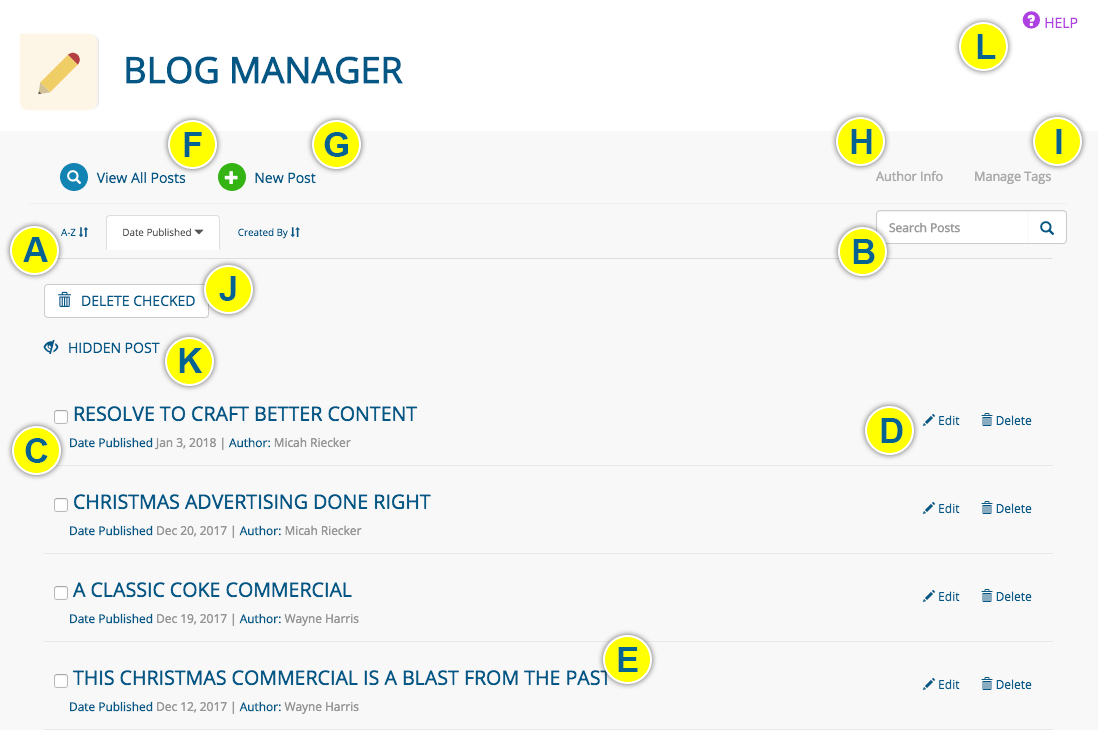
- The Blog Manager home page contains a list of all of your blog posts, which you can sort (A) and search (B). (The default sort is publication date.)
- Each listing (C) tells you when the post was published and the post author.
- Edit or delete a post with the icons (D) at the far right. You also can edit a post by clicking its title (E).
- Return to this page by clicking VIEW ALL POSTS (F) from any page within the app.
- Get started on a NEW POST (G)
- Create, edit and delete author bios (H)
- Create, edit and delete tags (I)
- Select the box to the left of each post you would like to delete, then click DELETE CHECKED (J)
- Indicates posts that are not currently live on your website (K)
- Read documentation on the Blog Manager app (L)
New post
- Click NEW POST from any page in the Blog Manager app.

CREATING/EDITING POSTS
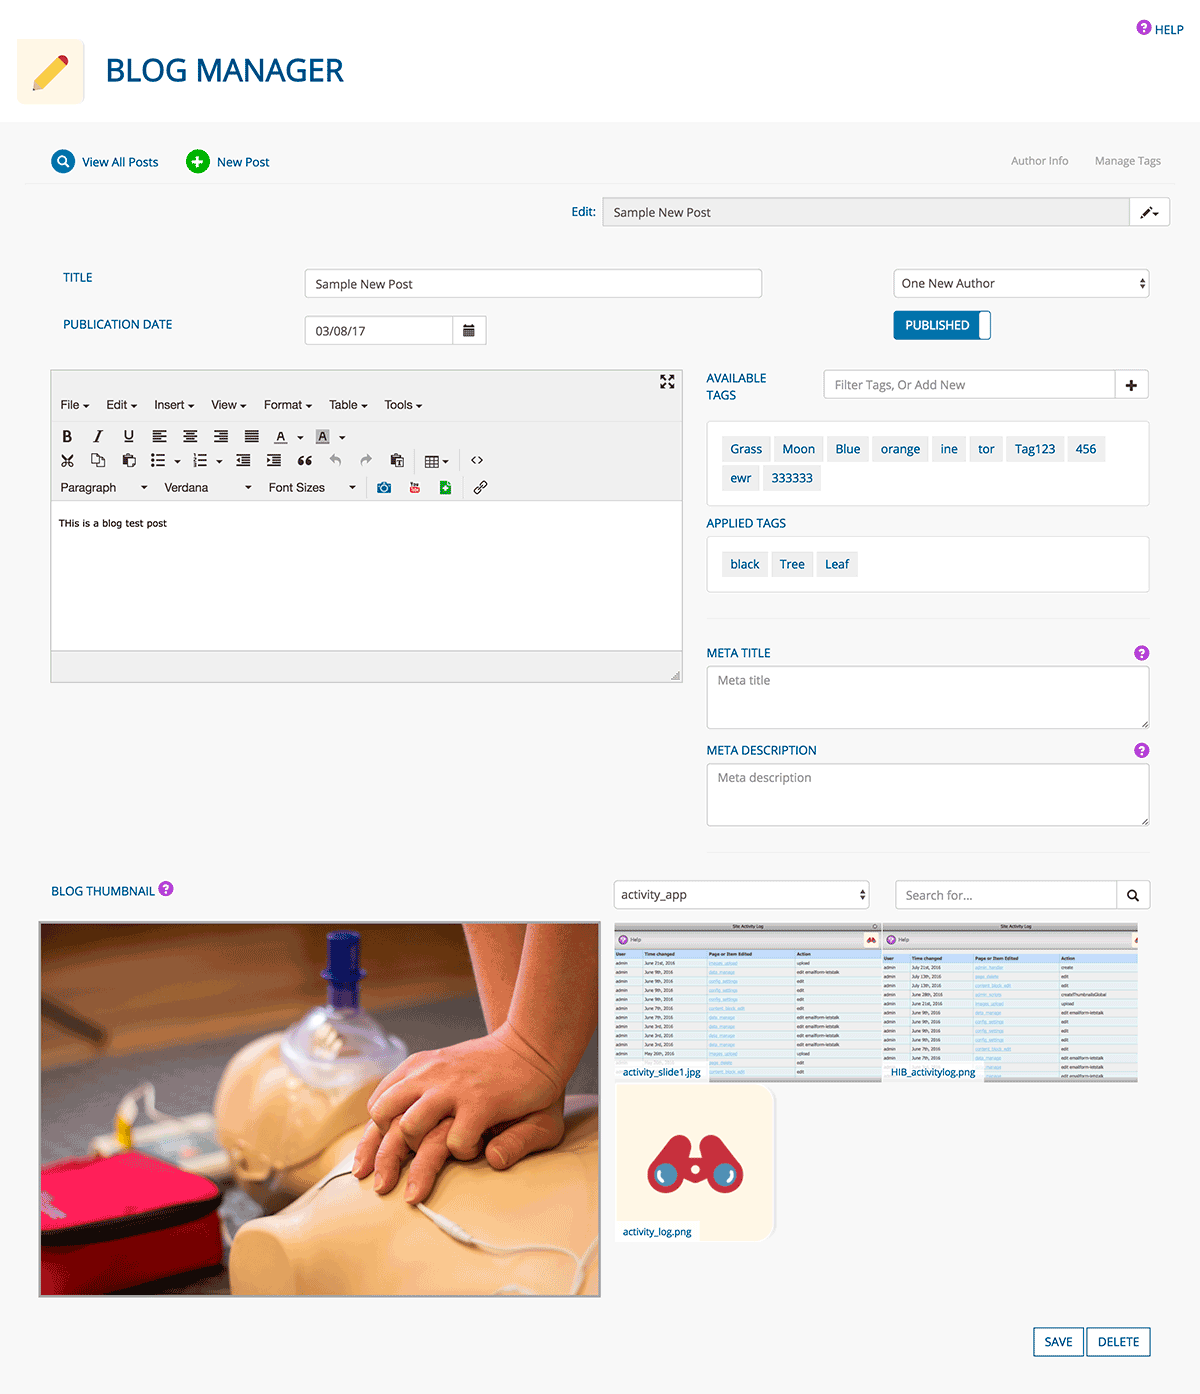
- Enter the post TITLE, which will serve as the URL for the blog post page.
- Enter the PUBLICATION DATE. (It is OK to set a date in the past.)
- Make a selection from the SELECT AUTHOR dropdown menu (optional). Including blog authors can: build search visibility on Google, create brand trust and loyalty, and help create personality for your organization.
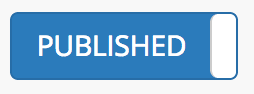
- Keep the PUBLISHED slider in its default position to publish your post. Click it to hide the post from public view.
- Enter the contents of your post in the page editor.
- Click a tag in the AVAILABLE TAGS field to assign it to the post. Click a tag in the APPLIED TAGS field to unassign it.
- In the FILTER TAGS, OR ADD NEW field, start typing to filter tags in the AVAILABLE TAGS FIELD. Type a tag title then click the + icon to add a new tag. ABOUT TAGS
- Enter a META TITLE and META DESCRIPTION. A well-written meta title will help boost the blog post's SEO, while a sound meta description can entice a user to visit the page to read the post. LEARN MORE
- Choose a BLOG THUMBNAIL. This is the image that will be used when users share this post on social media.
- Select the appropriate folder from the dropdown menu that contains an image that represents this post.
- Click the image to apply it. (Only one image can be used)
- Click the SAVE button when you are finished creating/editing your post, or the DELETE button to delete it.
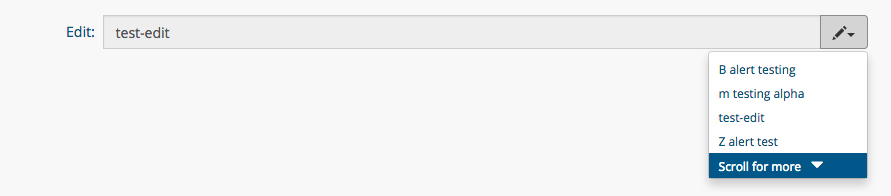
NAVIGATING AMONG POSTS
- Every blog post page contains a dropdown menu for easy access to other posts
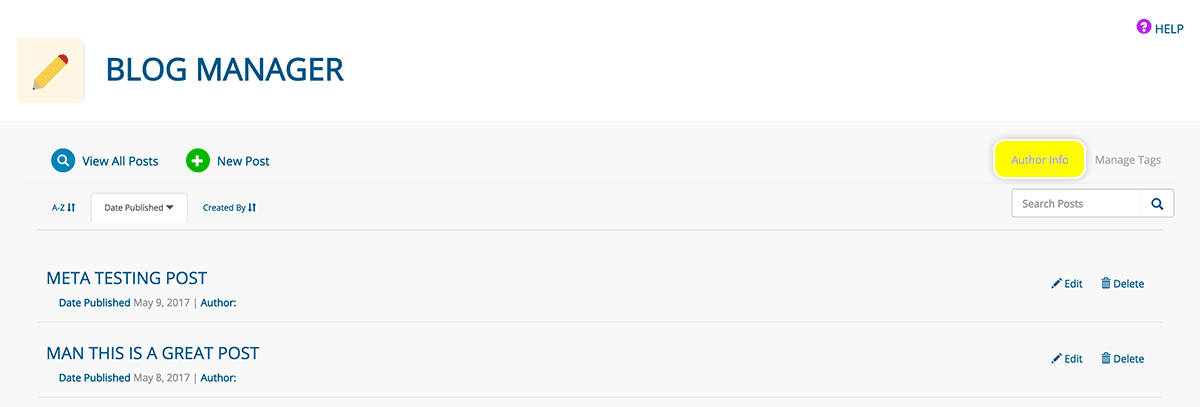
CREATING AN AUTHOR BIO
- Click the AUTHOR INFO button from any page in the Blog Manager app
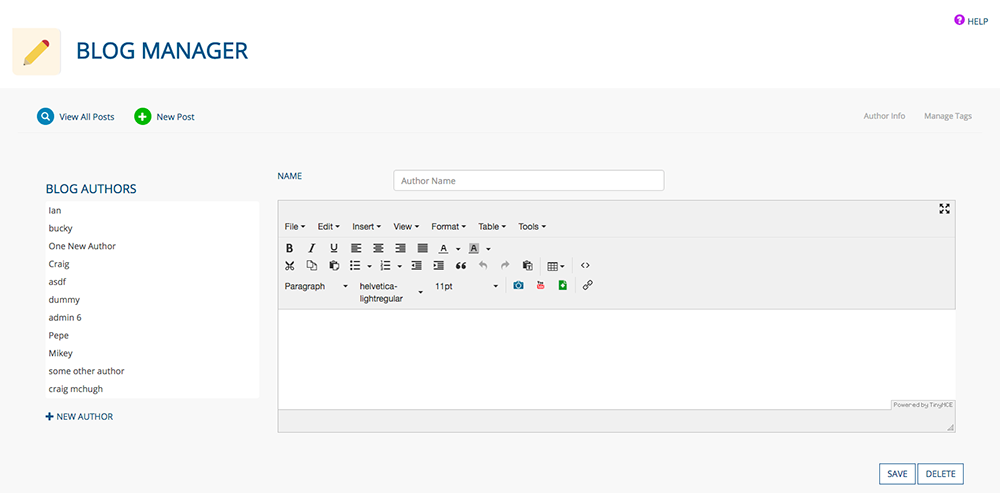
- Enter the author’s NAME and, in the page editor, biographical information
- Select an item from the BLOG AUTHORS list to edit an author's bio
- Click + NEW AUTHOR to create a new bio for an author
- Click the SAVE button when you are finished creating/editing the author bio, or the DELETE button to delete it.
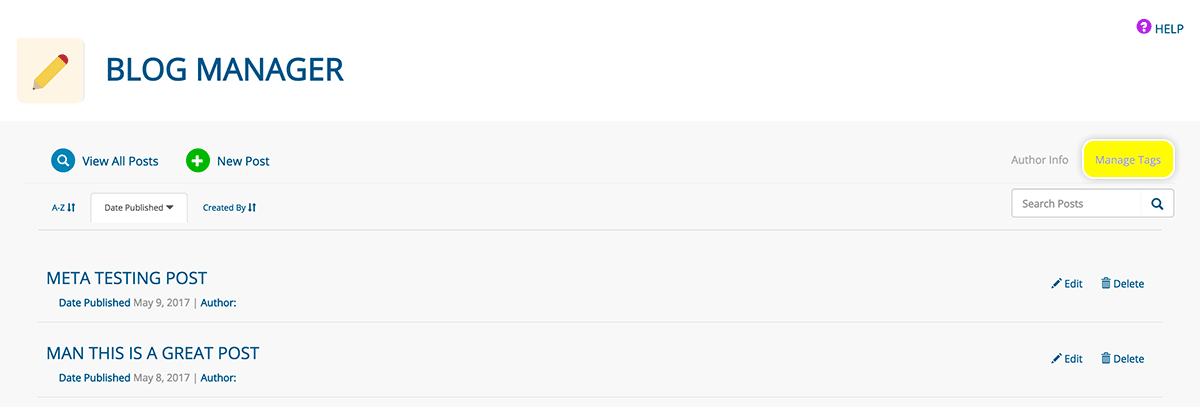
CREATING/DELETING TAGS
- Click the MANAGE TAGS button from any page in the Blog Manager app
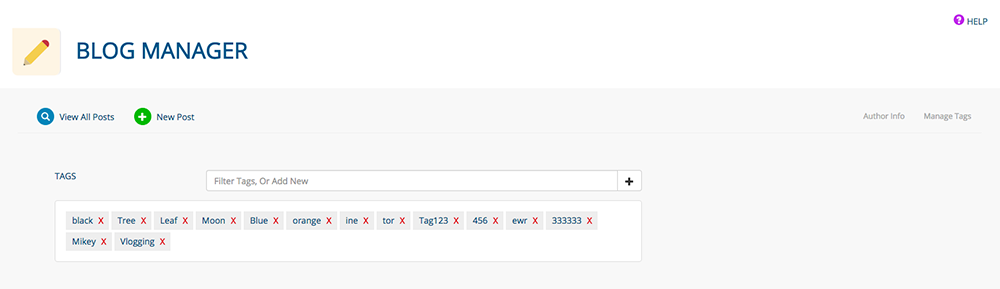
- In the FILTER TAGS, OR ADD NEW field, start typing to filter tags. Type a tag title then click the + icon to add a new tag.
- Click a red 'x' to delete a tag ABOUT TAGS
APPLYING POSTS TO A PAGE
If your Hits in a Box website includes a blog, a page will be built that includes all of your blog posts. In addition, you can apply a custom set of posts, using tags and time parameters, to any page on your site.
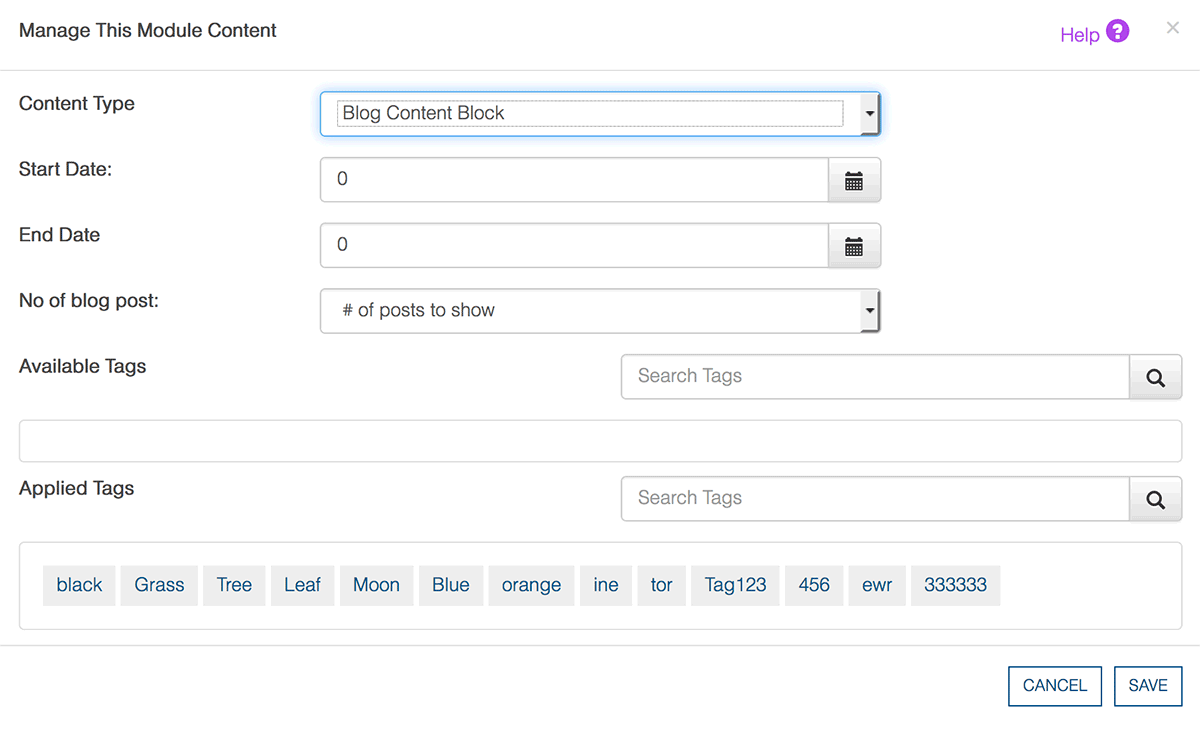
- Click the module icon from a content block (if the content block doesn’t have a module icon, CONTACT US)
- Choose BLOG CONTENT BLOCK from the CONTENT TYPE dropdown menu
- Select blog post(s) published during a specific time period by choosing the START DATE and END DATE (optional)
- Enter the # OF POSTS TO SHOW
- Click a tag in the AVAILABLE TAGS field to assign it; it will move to the APPLIED TAGS field. Click a tag in the APPLIED TAGS field to unassign it. (Assign no tags if you want to show all blog posts. LEARN MORE about tags.)
- Click the SAVE button (click the CANCEL button to return to the page you are working on without making any changes)
- The content block will contain your blog post(s)
EDITING BLOG SETTINGS
- Click the pencil icon or module icon for the content block that contains a blog post
- You will be taken to the Module Manager, where you can edit the settings
Was this page helpful? Leave your comments below.
comments powered by Disqus