APPS
Image Manager
 Visit the Image Manager app by selecting it in the app menu or by visiting the Dashboard and selecting it there. Use this app to upload images for usage on your website.
Adding an image to a content block
HOME PAGE
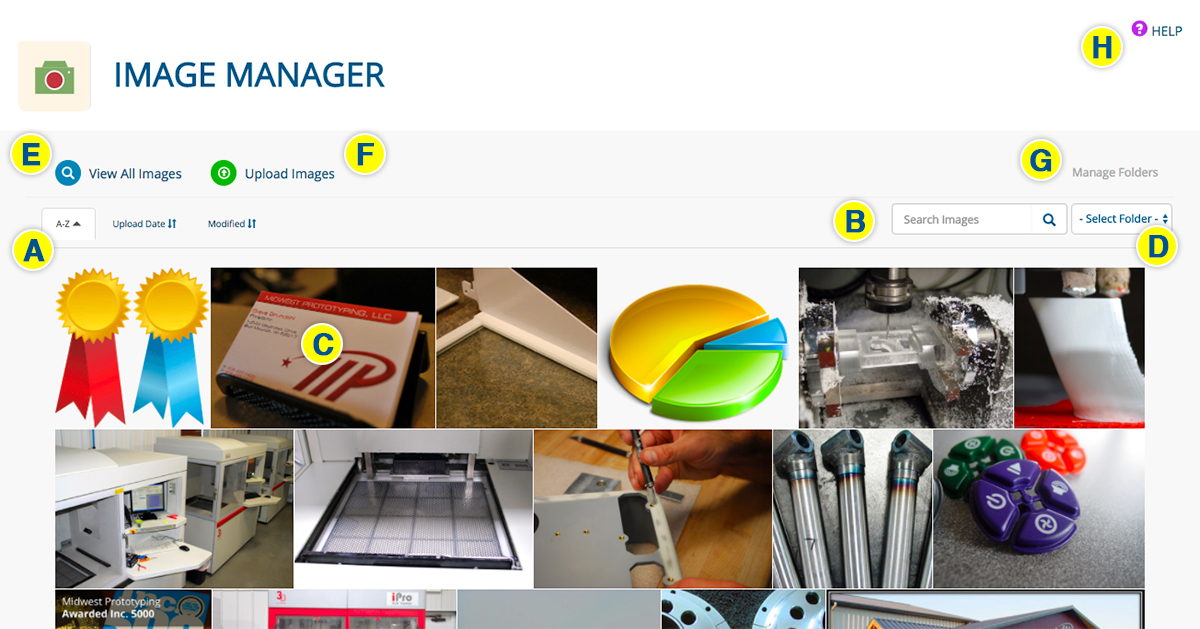
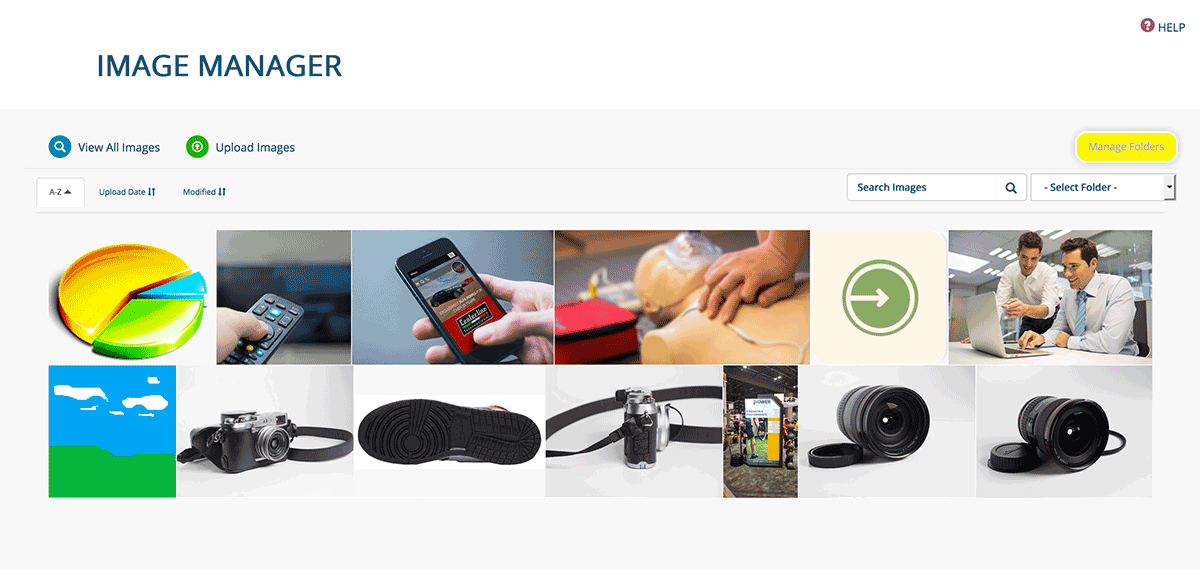
- The Image Manager home page contains a grid of all of your images, which you can sort (A) and search (B). (The default sort is alphabetical.)
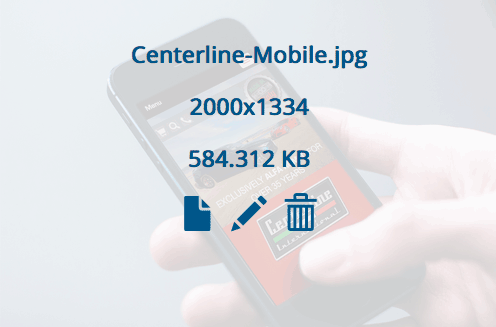
- Hover over an image (C) to see its name, dimensions and size, along with links to edit the image details (location, alt tag) and appearance, and to delete the image
- Select an option from the SELECT FOLDER dropdown menu (D) to access a specific set of images.
- Return to this page by clicking VIEW ALL IMAGES (E) from any page within the app.
- Upload a new image (F)
- Create a folder to better organize your images (G)
- Read documentation on the Image Manager app (H)
UPLOADING AN IMAGE
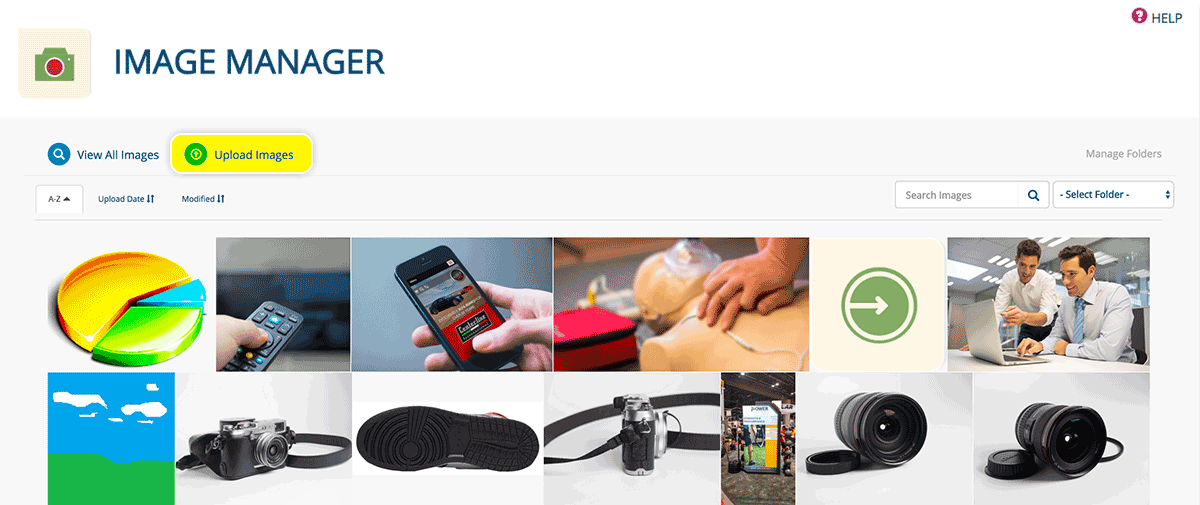
- Click UPLOAD IMAGES from any page in the Image Manager app.
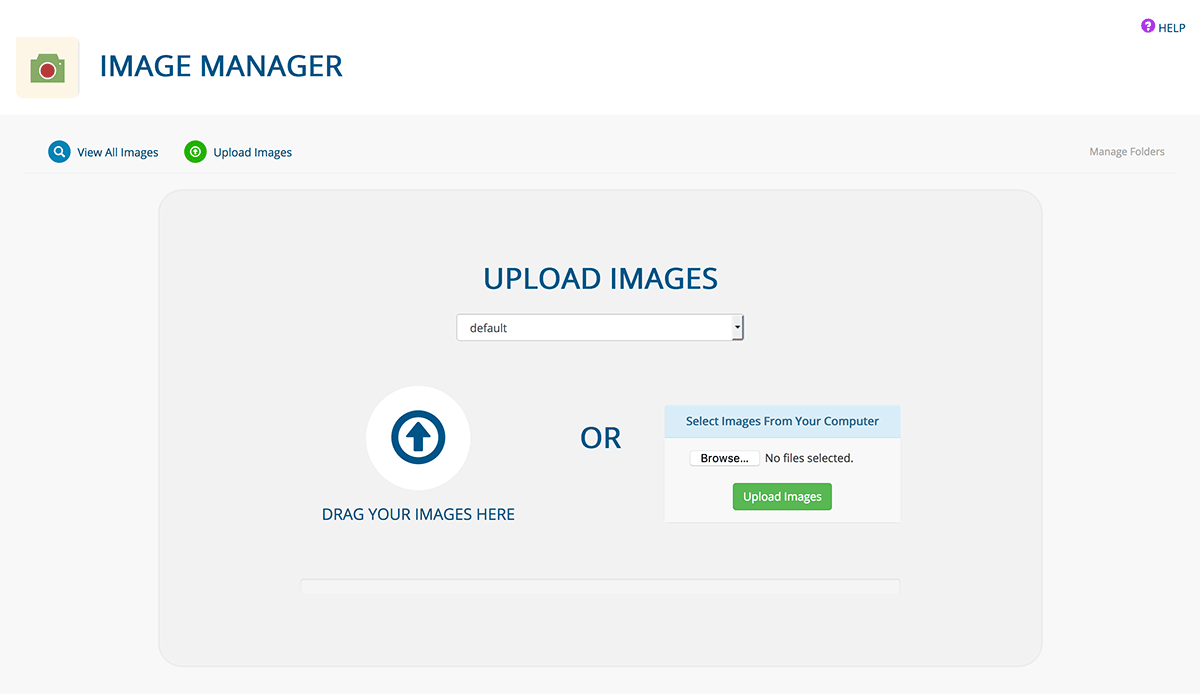
- Select the folder you want to upload your image to from the dropdown menu
- Drag the image(s) for upload from your computer to the DRAG YOUR IMAGES HERE icon
OR
- Click the BROWSE button to pull up your computer’s file navigator
- Click the image you would like to upload (shift+click to choose multiple images)
- Click OPEN
- Click the UPLOAD IMAGES button
- You should receive a notice indicating a successful upload, and the image(s) will appear in the designated folder
You also can upload an image directly from a content block:
- Click the pencil icon of the content block you would like to add an image to
- Click the blue camera icon in the page editor
- Choose the folder where you would like to upload the image to from the UPLOAD NEW IMAGE dropdown menu
- Click the BROWSE button to pull up your computer’s file navigator
- Click the image you would like to upload (shift+click to choose multiple images)
- Click OPEN
- Click the UPLOAD button

EDITING IMAGE DETAILS
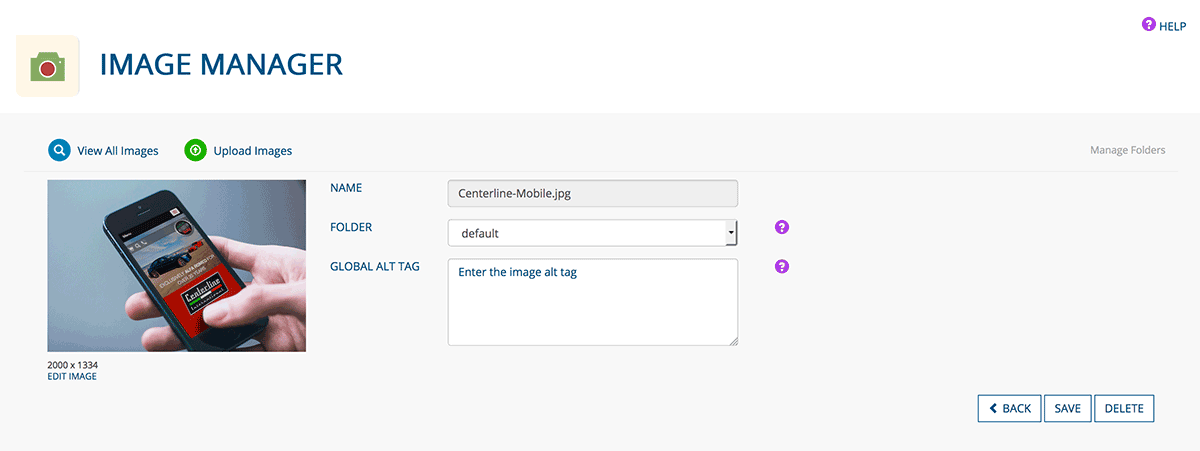
- From the Image Manager home page, choose the folder where the image exists from the SELECT IMAGE dropdown menu
- Hover over the image you want to edit and click the file icon
- You cannot edit the image name
- Change the location of the image by making a selection from the FOLDER dropdown menu (if the image already is being used on your website, changing the image's location will break the link to it)
- Enter a GLOBAL ALT TAG, which will be applied to the image each time it is used on your website ABOUT ALT TAGS
- Click the SAVE button when you are finished editing the image details, or the DELETE button to delete the image. Click the BACK button to return to the Image Manager home page.
EDITING AN IMAGE
- From the Image Manager home page, choose the folder where the image exists from the SELECT IMAGE dropdown menu
- Hover over the image you want to edit and click the pencil icon
- Click an icon from the photo editor choices. From within each option, click the “Cancel” button to delete your changes, and the “Apply” button to save them. Use the magnifying glass to zoom in or out on the image.

- FRAMES places a border around the image
- EFFECTS puts a filter on the image
- ENHANCE allows you to make adjustments to the image
- “Hi-Def” sharpens the image
- “Illuminate” brightens the image
- “Color Fix” makes automatic color adjustments to the image
- RESIZE allows you to change the height and width of the image
- When the lock icon is blue, the height and width will scale together (recommended)
- CROP allows you to crop the image
- Drag any of the four circular handles OR
- Choose a pre-set option (“Original,” “Square,” “3:2,” etc.) OR
- Choose a custom option by filling out the “width” and “height” fields; click the “Lock Dimensions” checkbox to scale the height and width together
- ORIENTATION allows you to re-position the image
- “Rotate” rotates the image by 90-degree intervals
- “Mirror” flips the image vertically or horizontally
- TEXT gives you the option to add text on top of the image.
- Click inside the text box to enter text
- Use the white circle with arrows to adjust the positioning/angle of the text
- Click the black circle with the white “X” to delete the text
- Change the color of the text with the color pinwheel dropdown menu
- Change the font with the “Arial Black” dropdown menu
- Add a new text block by clicking the “Add Text” button
- DRAW allows you to draw on top of the image
- Change the color of the lines with the color pinwheel dropdown menu
- Change the size of the lines with the “Brush Size” options
- Click the “Eraser” tool to delete lines
- CONTRAST allows you to adjust the contrast of the image
- Drag the slider to the right to increase contrast and to the left to decrease it
- SHARPNESS allows you to adjust the sharpness of the image
- Drag the slider to the right to increase sharpness and to the left to decrease it
- BRIGHTNESS allows you to adjust the brightness of the image
- Drag the slider to the right to increase brightness and to the left to decrease it
- SATURATION allows you to adjust the amount of color in the image
- Drag the slider to the right to increase the color and to the left to decrease it
- STICKERS allows you to place clip art on top of the image
- Click the “Save” button when you are done editing (click the “x” in the upper-right corner to leave the Photo Editor area without saving your changes)
CREATING A FOLDER
Folders help you organize your images
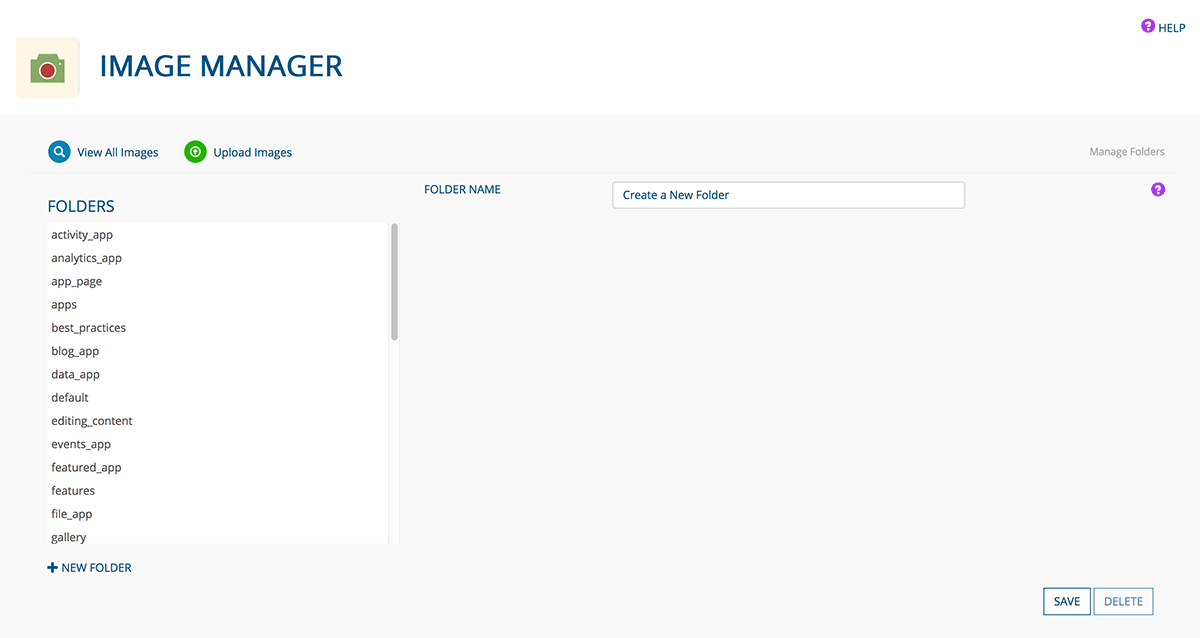
- Click the MANAGE FOLDERS button from any page in the Image Manager app
- Enter the FOLDER NAME
- Click + NEW FOLDER to add another folder
- A folder only can be deleted if it is empty, because deleting a folder containing images would delete the files as well
- Editing the name of a folder will break any links to images within it that are being used on your site
- Click the SAVE button when you are finished creating your folder, or the DELETE button to delete an empty folder
ADDING AN IMAGE TO A CONTENT BLOCK
- Click the pencil icon of the content block you want to add an image to
- Click the blue camera icon
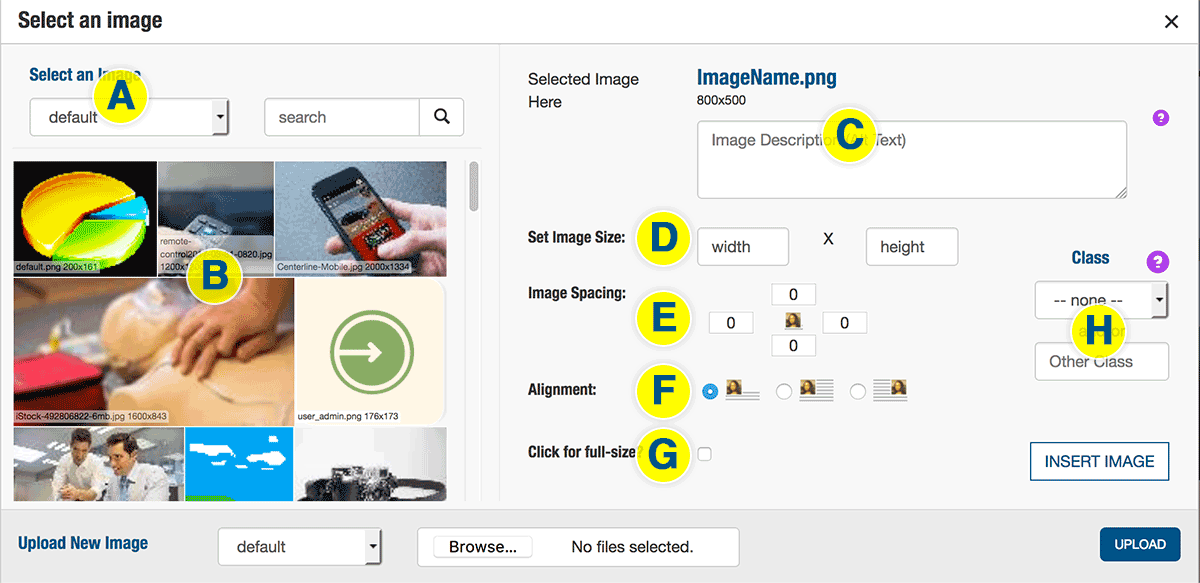
- Choose the folder (A) that contains the image you want to insert from the dropdown menu under the SELECT AN IMAGE header; search images from the search bar to the right.
- Click the desired image (B).
- Enter a description (C) of the image. Learn about LEARN ABOUT ALT TAGS.
- SET IMAGE SIZE (D); set the width (in pixels) in the first field, and the height in the second field automatically will scale proportionally
- Set IMAGE SPACING (E) around the image (provides space between text and the image; 10 is a good starting point)
- Set the ALIGNMENT of the image (F; from left: text starts below the image; text wraps around to the right of the image; text wraps around to the left of the image)
- Check the CLICK FOR FULL-SIZE checkbox (G) if you want the image to be its original size
- Choose a CLASS (H; optional) from the dropdown (apply a second class by typing it in the field below the dropdown)
- “100% width” sets the width of the image to 100% so that it fills the entire width of the content block (recommended)
- "Snapshot" can be set to a pre-determine style specific to your site
- “Polaroid” adds a white border to the image
- “Rounded” rounds the corners of the image
- “Glow” adds a shadow to the image
- “Coupon” adds a dashed line around the image
- Click the INSERT IMAGE button; the image will appear in the page editor
Was this page helpful? Leave your comments below.
comments powered by Disqus